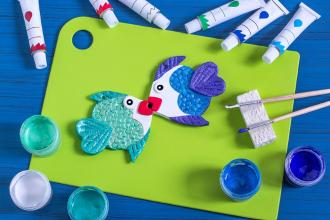


Hollow out and carve a Halloween pumpkin
Halloween is just around the corner and more and more ghosts, witches and goblins are strolling through the streets on October 31. A ghoulishly beautiful pumpkin face as decoration is part of this spectacle. But which pumpkin varieties are suitable and how does the pumpkin keep? With our step-by-step guide, you're sure to create a spooky work of art.
What you need to carve a pumpkin
- A pumpkin, of course
- A pointed, serrated knife or a small serrated knife (make sure the knife is sharp so that you don't slip!)
- 1 sharpie or waterproof foil pen
- 1 spoon
- Tea light or pillar candle
- Hairspray, vinegar water and Vaseline as mold protection
Tip: If you find real candles too dangerous, use battery-operated tea lights or a small flashlight.
Which pumpkin varieties are suitable for carving?
- Hokkaido
- Butternut squash
- Nutmeg pumpkin
- Halloween pumpkin or "Ghost Rider"
Tip: The larger the pumpkin, the easier it is to carve and hollow it out. The flesh is often softer and therefore easier to remove from the pumpkin.
Carve a pumpkin: Step by step
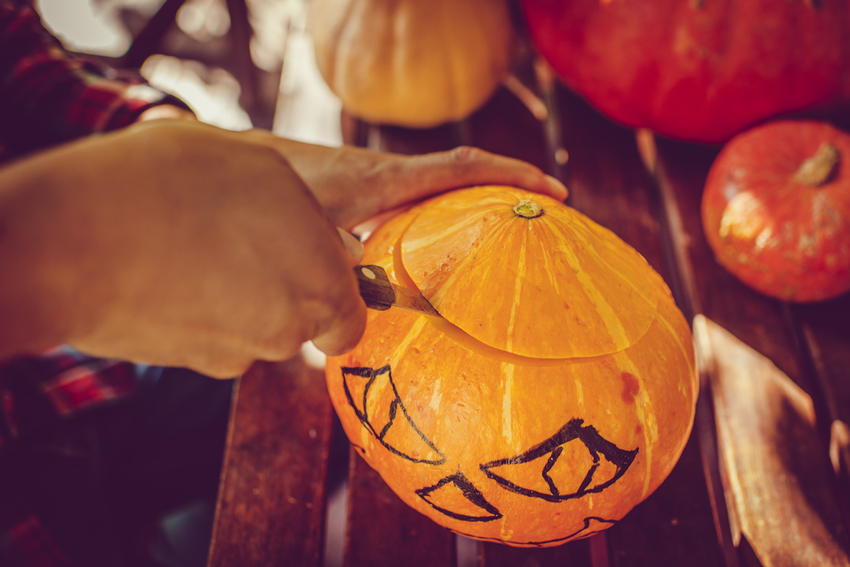
Step 1: Open the pumpkin
Wash the pumpkin briefly to remove all dirt and pesticides. Then mark out the shape of the lid, e.g. jagged or round. Make sure that you hold the knife at a slight angle when cutting out the lid so that the lid does not fall into the pumpkin later.
Step 2: Hollow out the pumpkin
Now remove the soft flesh and seeds from the pumpkin using the spoon (or an ice cream scoop). Then carefully scrape out the remaining flesh from the inside of the pumpkin as best you can with a spoon. The better you scoop out the pumpkin and remove any pulp, the longer it will stay free of mold.
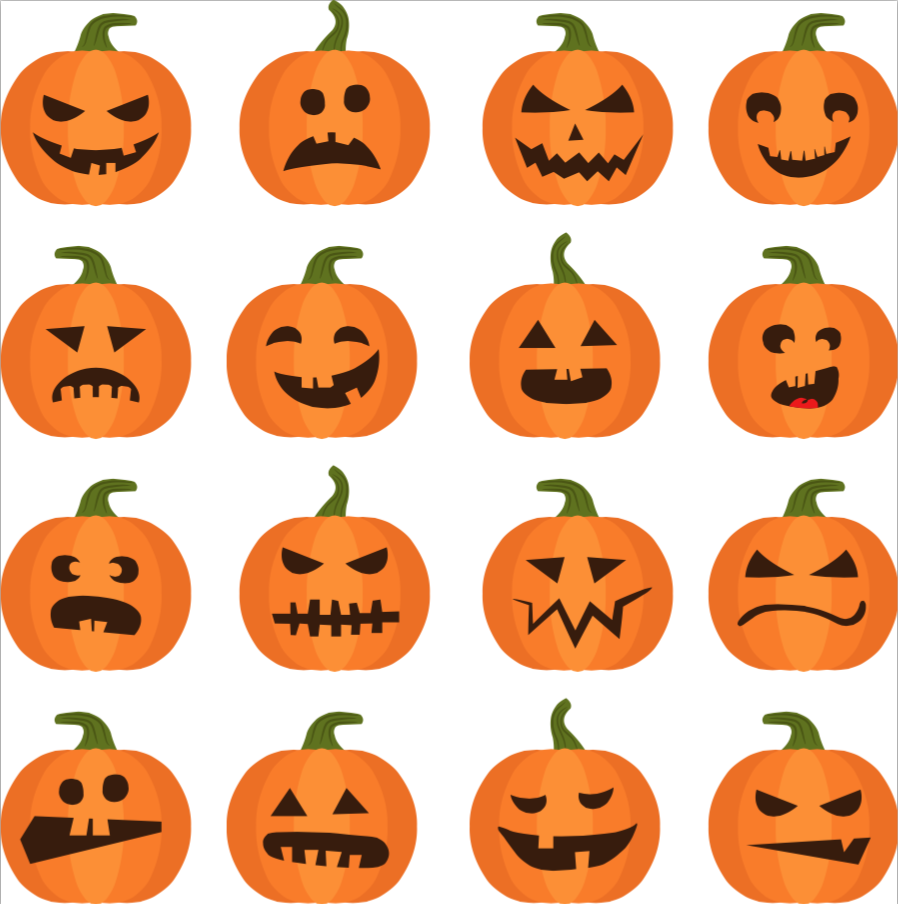
Step 3: Draw the face
Now draw a face on the pumpkin with a sharpie. Do you want it to look scary? Or rather friendly? We have a few templates for pumpkin faces for you.
Tip: If your children want to join in the carving, pay attention to the level of difficulty and choose a face that does not contain too many details.
Step 4: Carve the pumpkin
Now it's time to get down to business: use the pointed knife to cut along the lines you have drawn. This works best with a special pumpkin carving knife. However, if you don't have one at home, use a pointed and, above all, sharp knife.
Tip: Poke holes along the marked lines with a needle. This makes it a little easier to cut out. Cut and remove the delicate areas first so that nothing breaks out later.
Step 5: Preserve the pumpkin!
No sooner has the pumpkin been hollowed out and carved than it starts to go moldy! That's why you should follow a few care tips if you want to keep your spooky friend for a while:
- Place the pumpkin in a cool, dry place.
- Rub the cut edges and the inside of the pumpkin well with a kitchen towel. The drier it is, the less susceptible it is to mold.
- Rub the cut edges with Vaseline. This seals them.
- You should also rinse the pumpkin with vinegar water and spray the outside with hairspray to preserve it a little.
It is also important to allow the pumpkin to dry thoroughly before placing a candle in it, otherwise there is a risk of fire.
We wish you and your family lots of fun and spookiness while carving!
pme Lernwelten
As a provider of over 75 childcare and educational facilities, we offer parents and their children high-quality and flexible education. Our colorful teams are made up of people from different nations, with diverse talents and interests.
You can find out more about our educational concept and current vacancies here: Jobs in our childcare centers & crèches
Visit our Berlin childcare center and immerse yourself in a unique 360° experience:
This YouTube content can only be loaded if you accept the privacy policy of Google LLC.
To the data protection settings ".jpg/bbb9f9bf-45c0-88e4-8906-523dc40f15ce/bbb9f9bf-45c0-88e4-8906-523dc40f15ce?imageThumbnail=2)